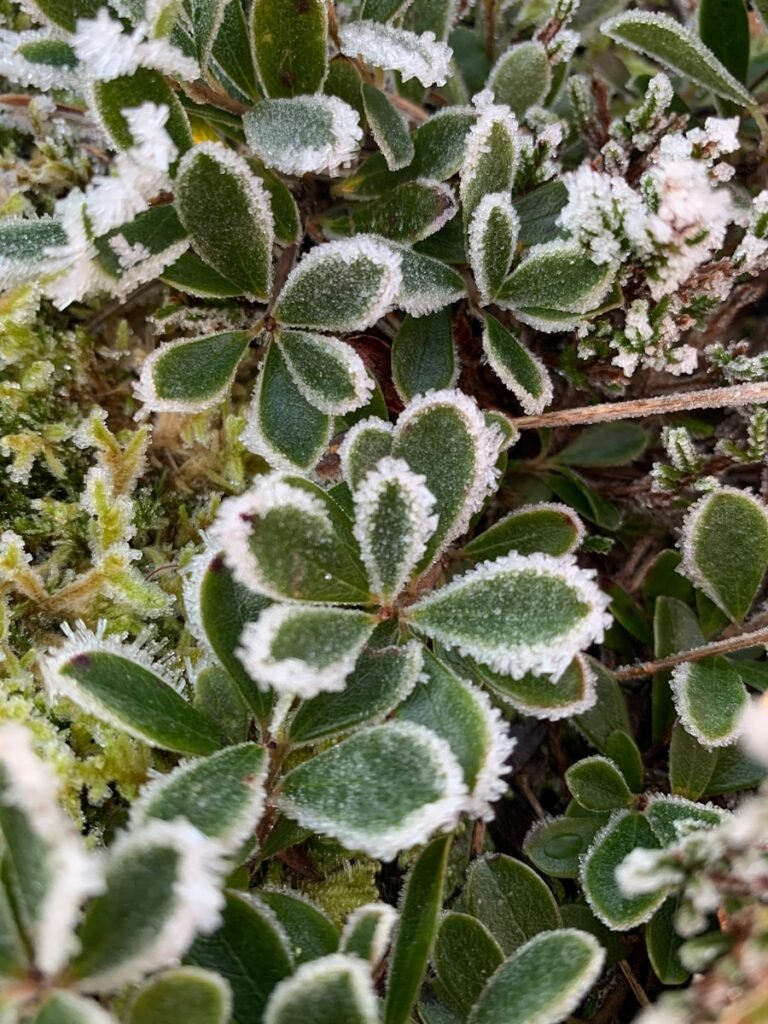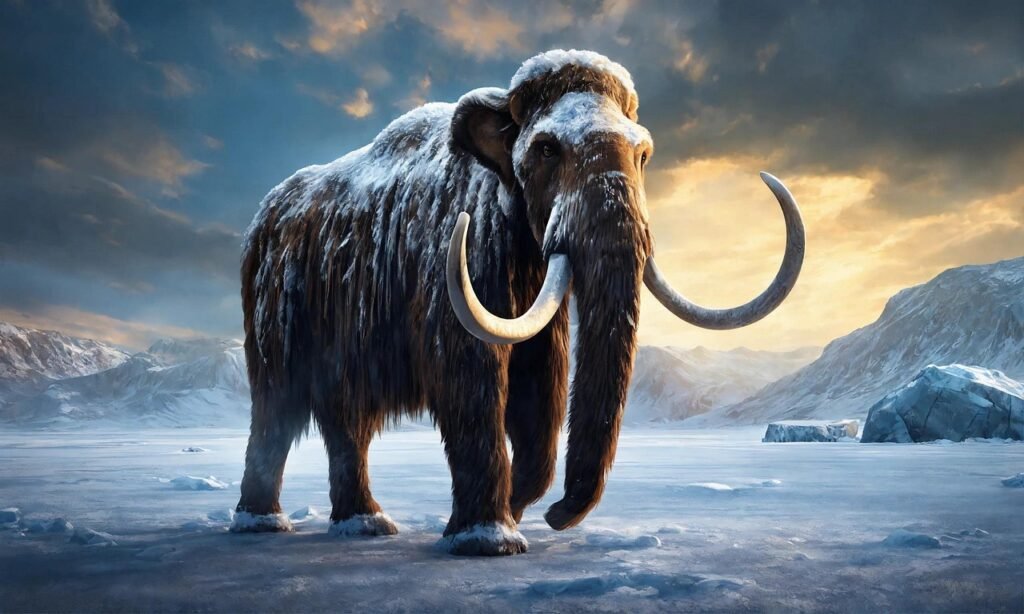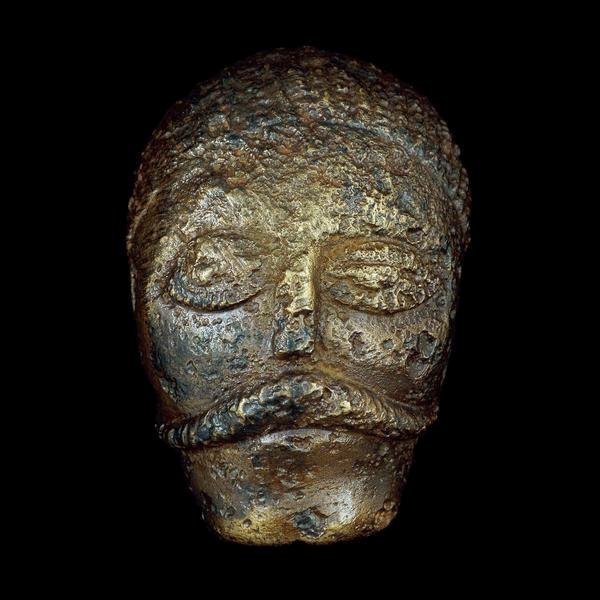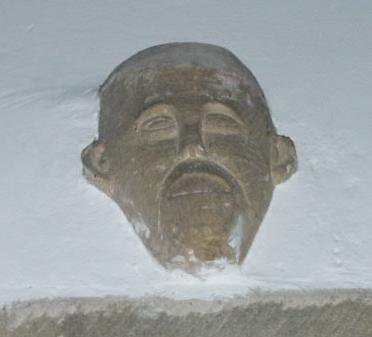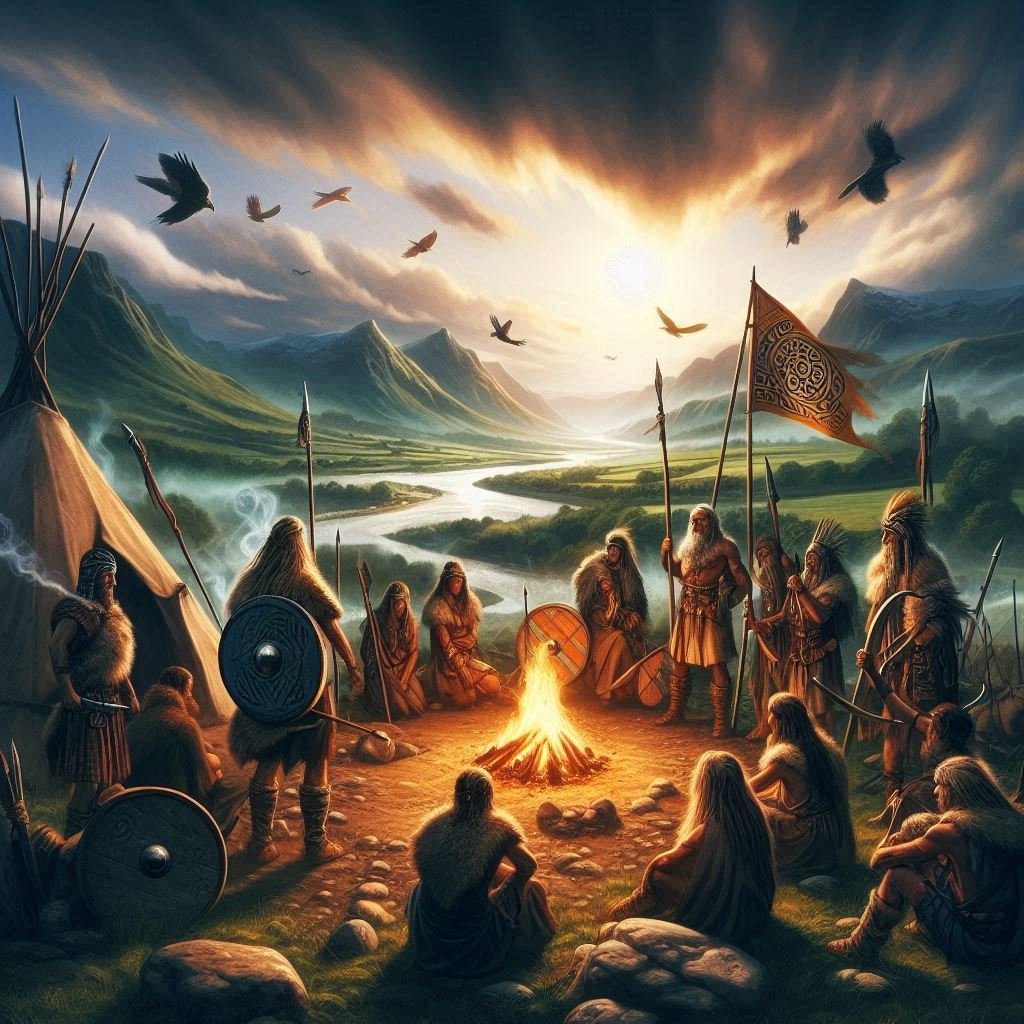
Celtic Heads
Celtic Head from Witham, 2nd c B.C. (British Museum) "Celtic" carved heads are found throughout the Read more
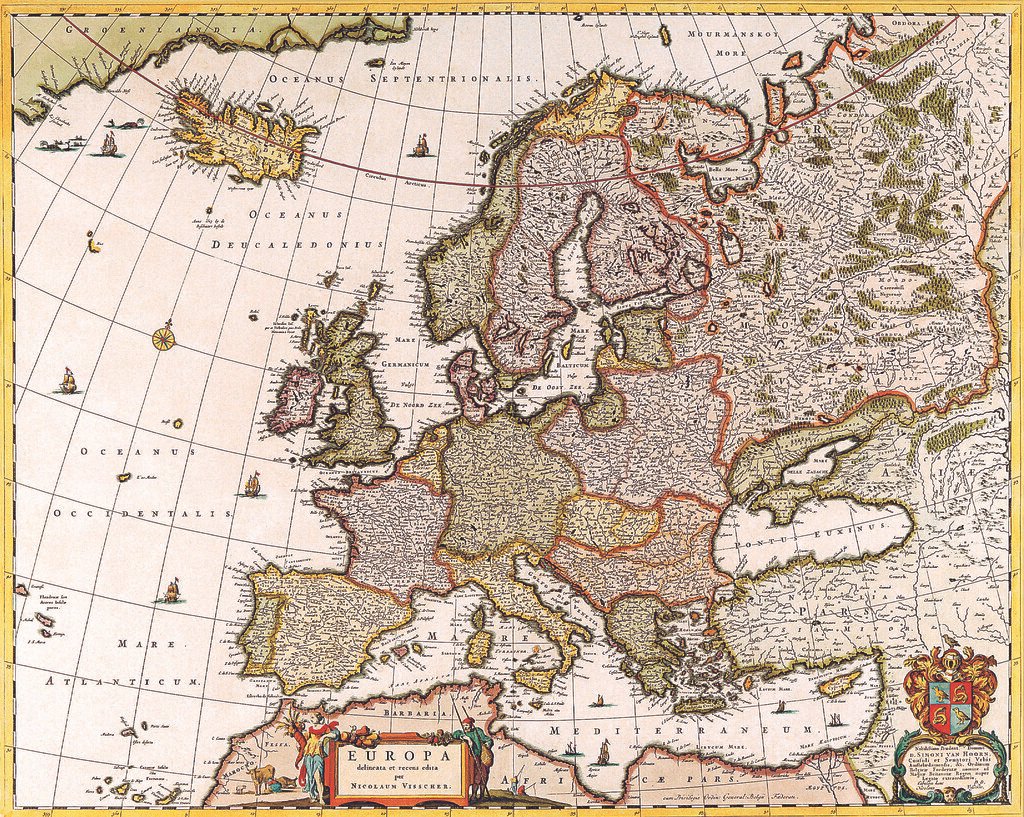
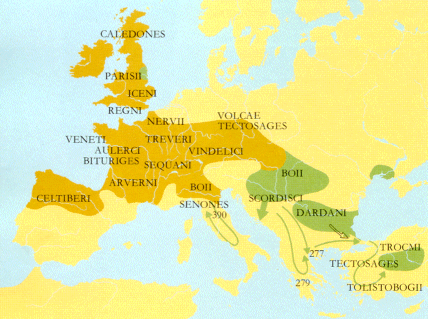
Timeline 60BC – 138AD
This timeline is focussed on the British Celtic culture and those cultures which had influence on the British Celts. It Read more
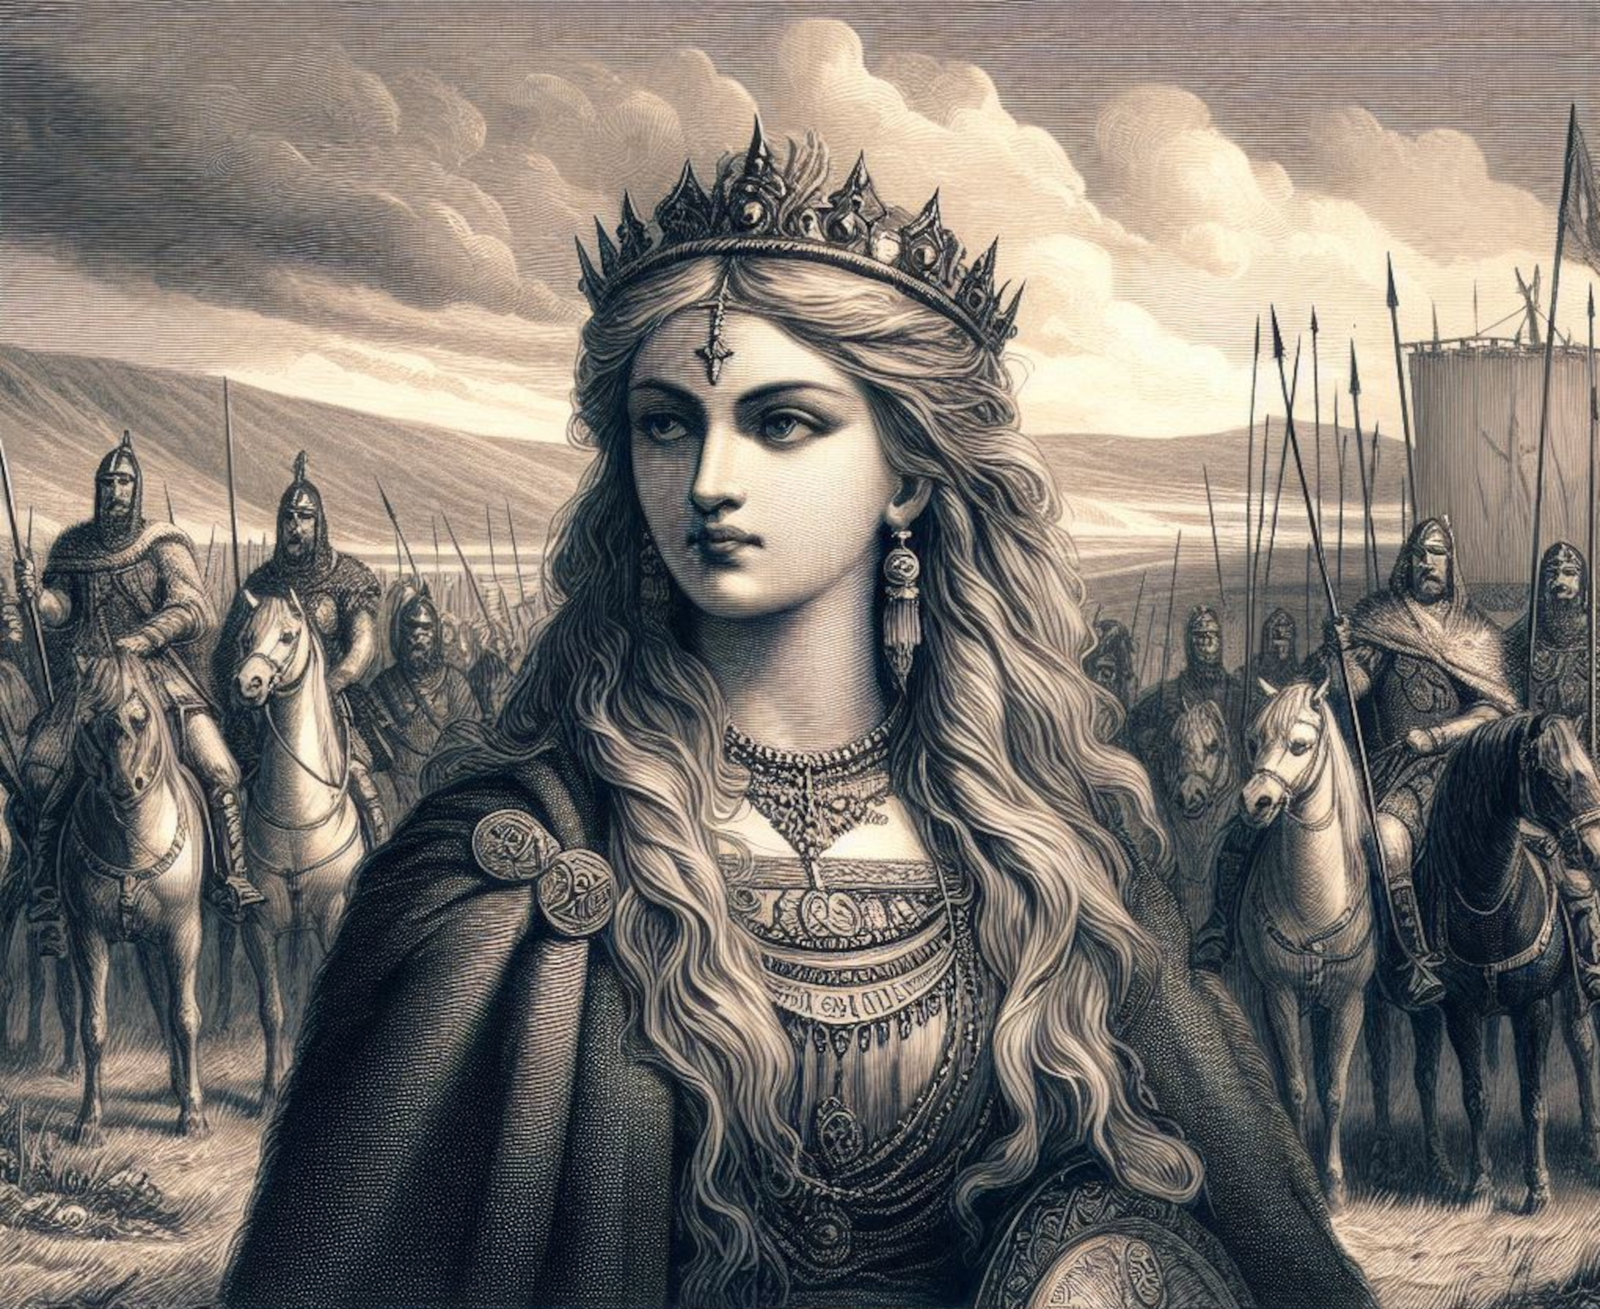
Cartimandua
Yorkshire, and much of northern Britain was also ruled by a queen, the most powerful ruler in Britain in fact. Read more
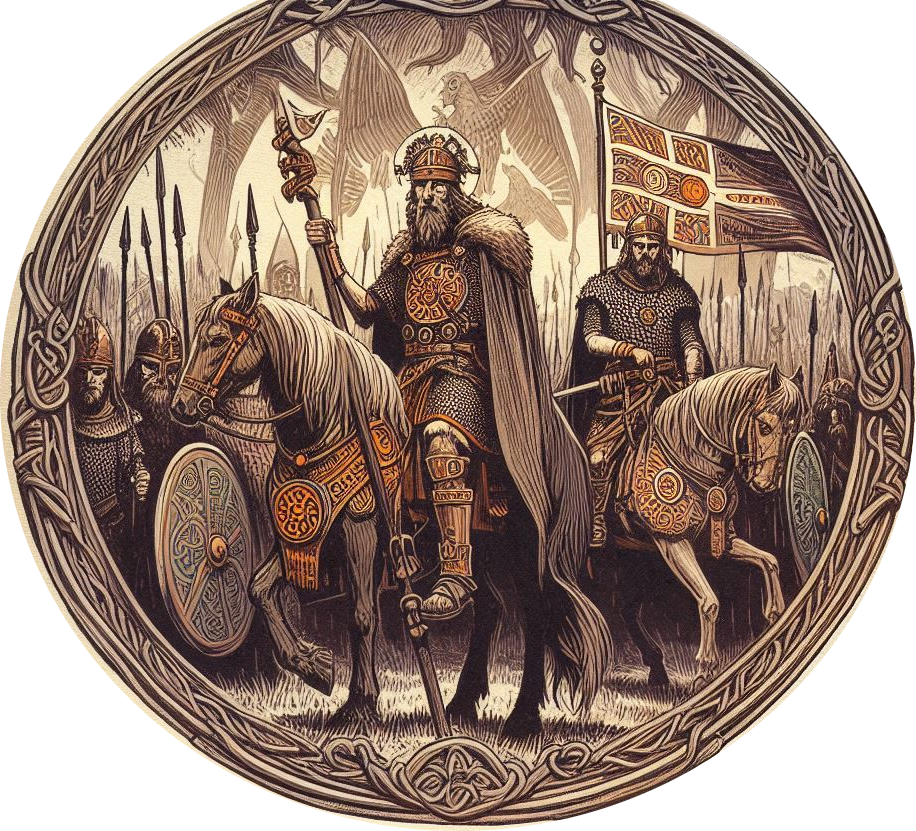
Caratacus
Caratacus was highly influenced by the Druids, and both he and his brother Togodumnus were among the leading lights of Read more
Cerialis Petillius
Quintus Petillius Cerialis Caesius Rufus was the son-in-law of Vespasian Cerialis and became Governor of Britain in AD.71; his instructions Read more
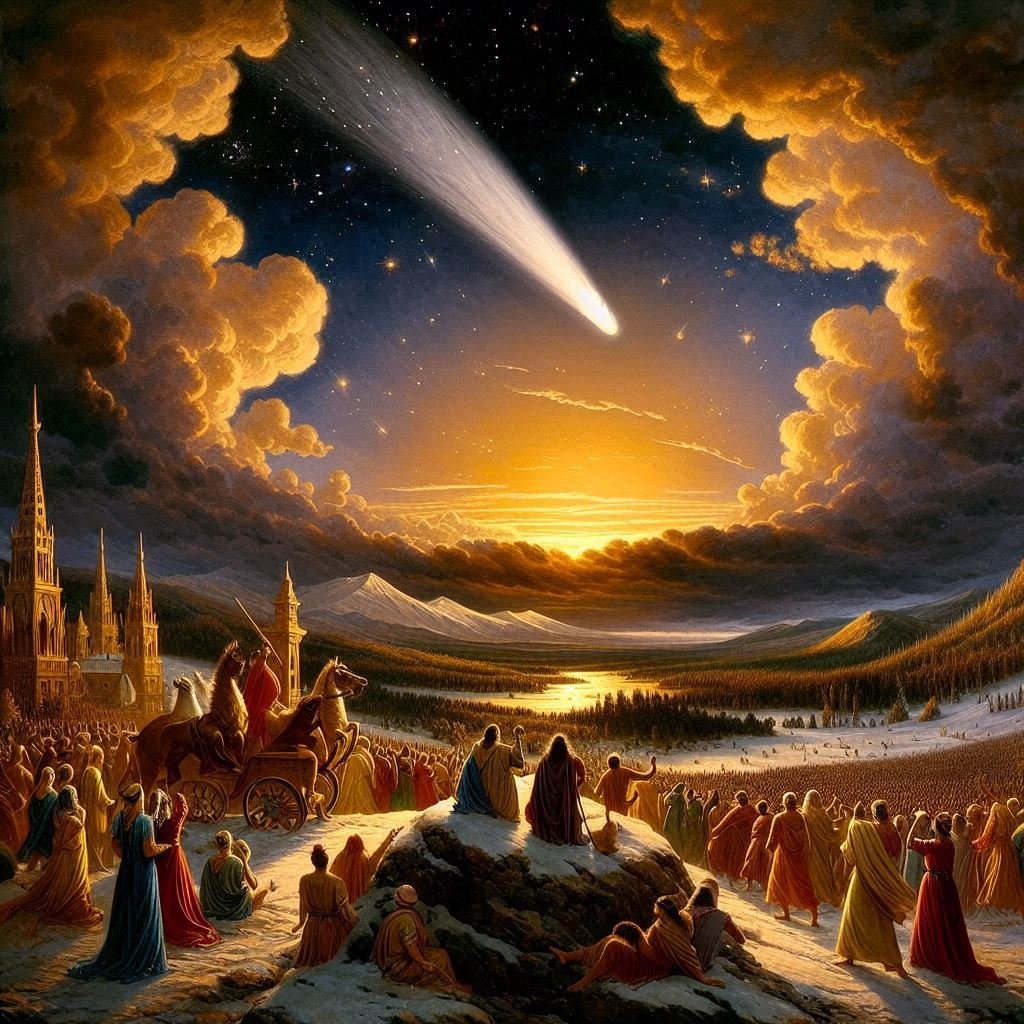
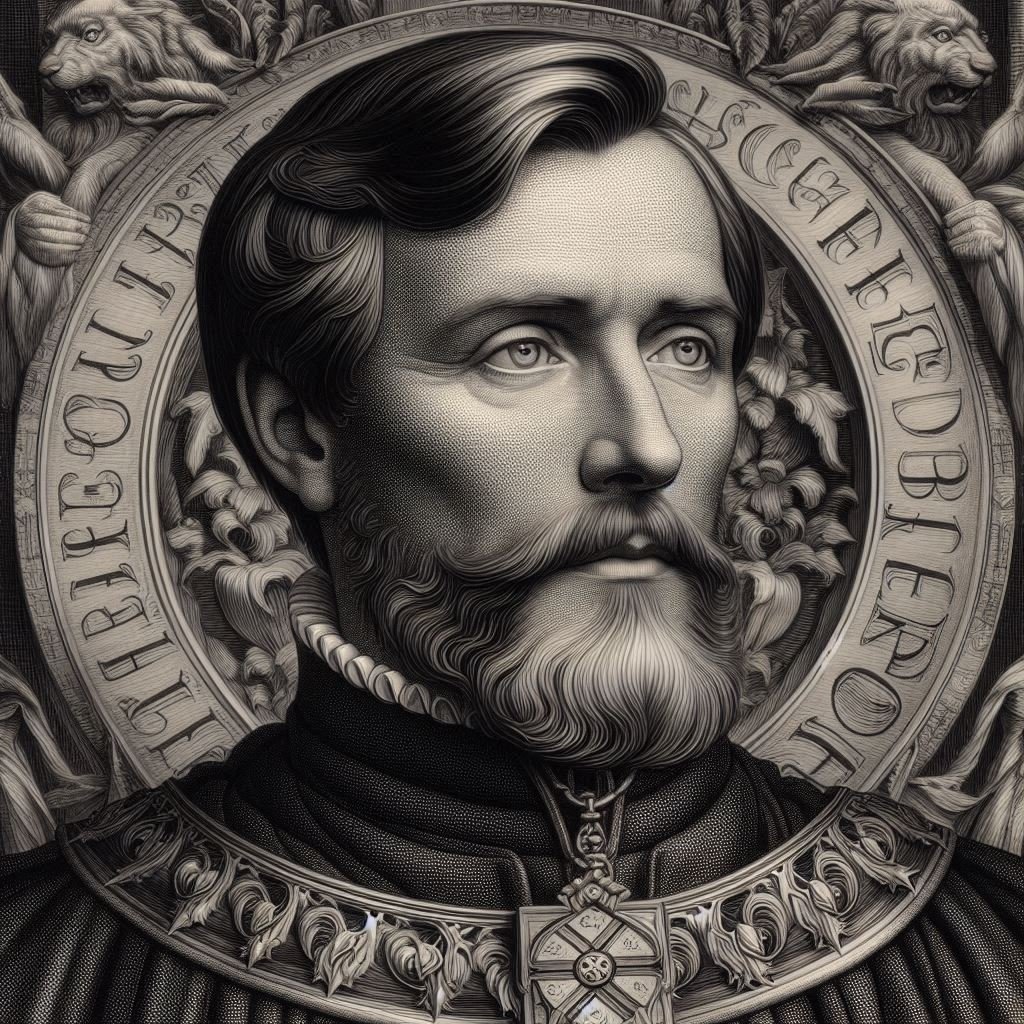
Julius Caesar
Ask anyone to name a famous Roman character, and the name of Julius Caesar is sure to be the most Read more
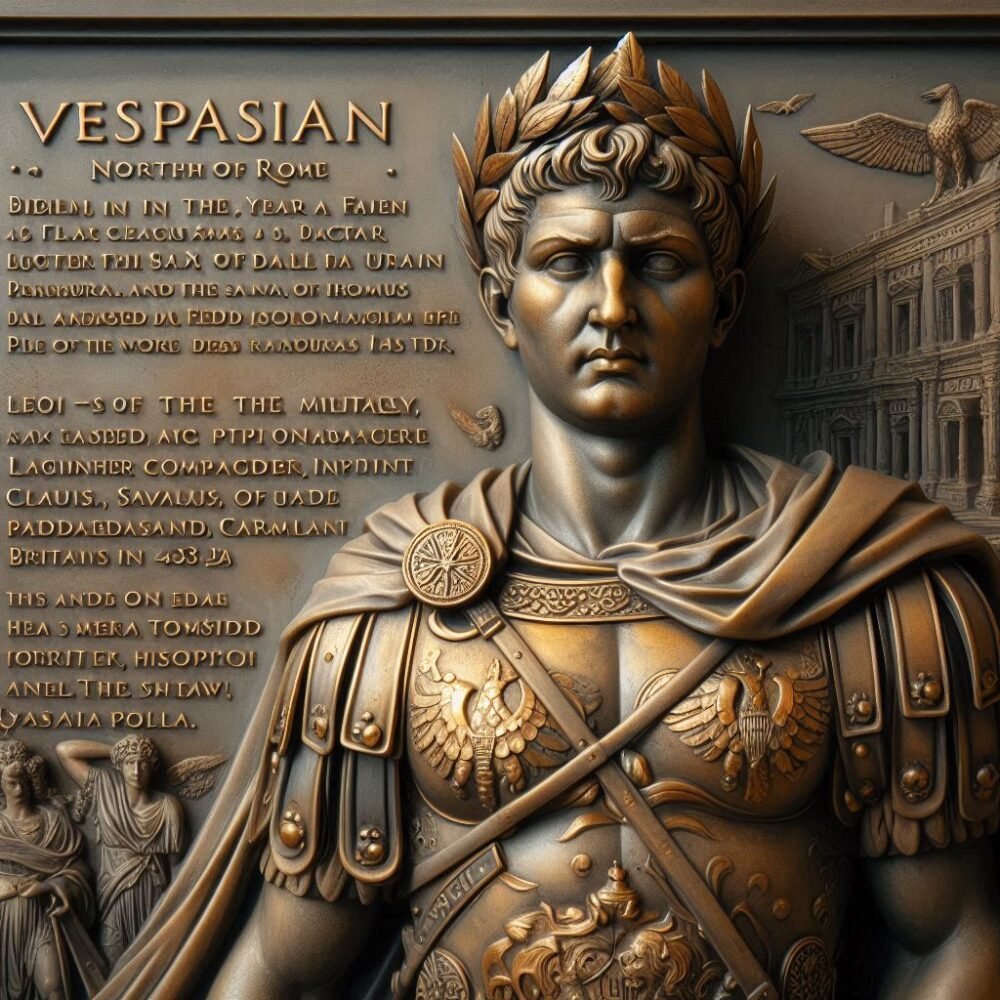
Vespasian
Born in the year 9 at Reate, north of Rome, Vespasian was the son of a tax collector, Flavius Sabinus Read more
Augustus
Suetonius wrote of him: He was very handsome and most graceful at all stages of his life, although he cared Read more
Claudius
Tiberius Claudius Nero Germanicus was born Lugunum in 10 BC, the youngest son of Nero Drusus, brother of Tiberius. He Read more
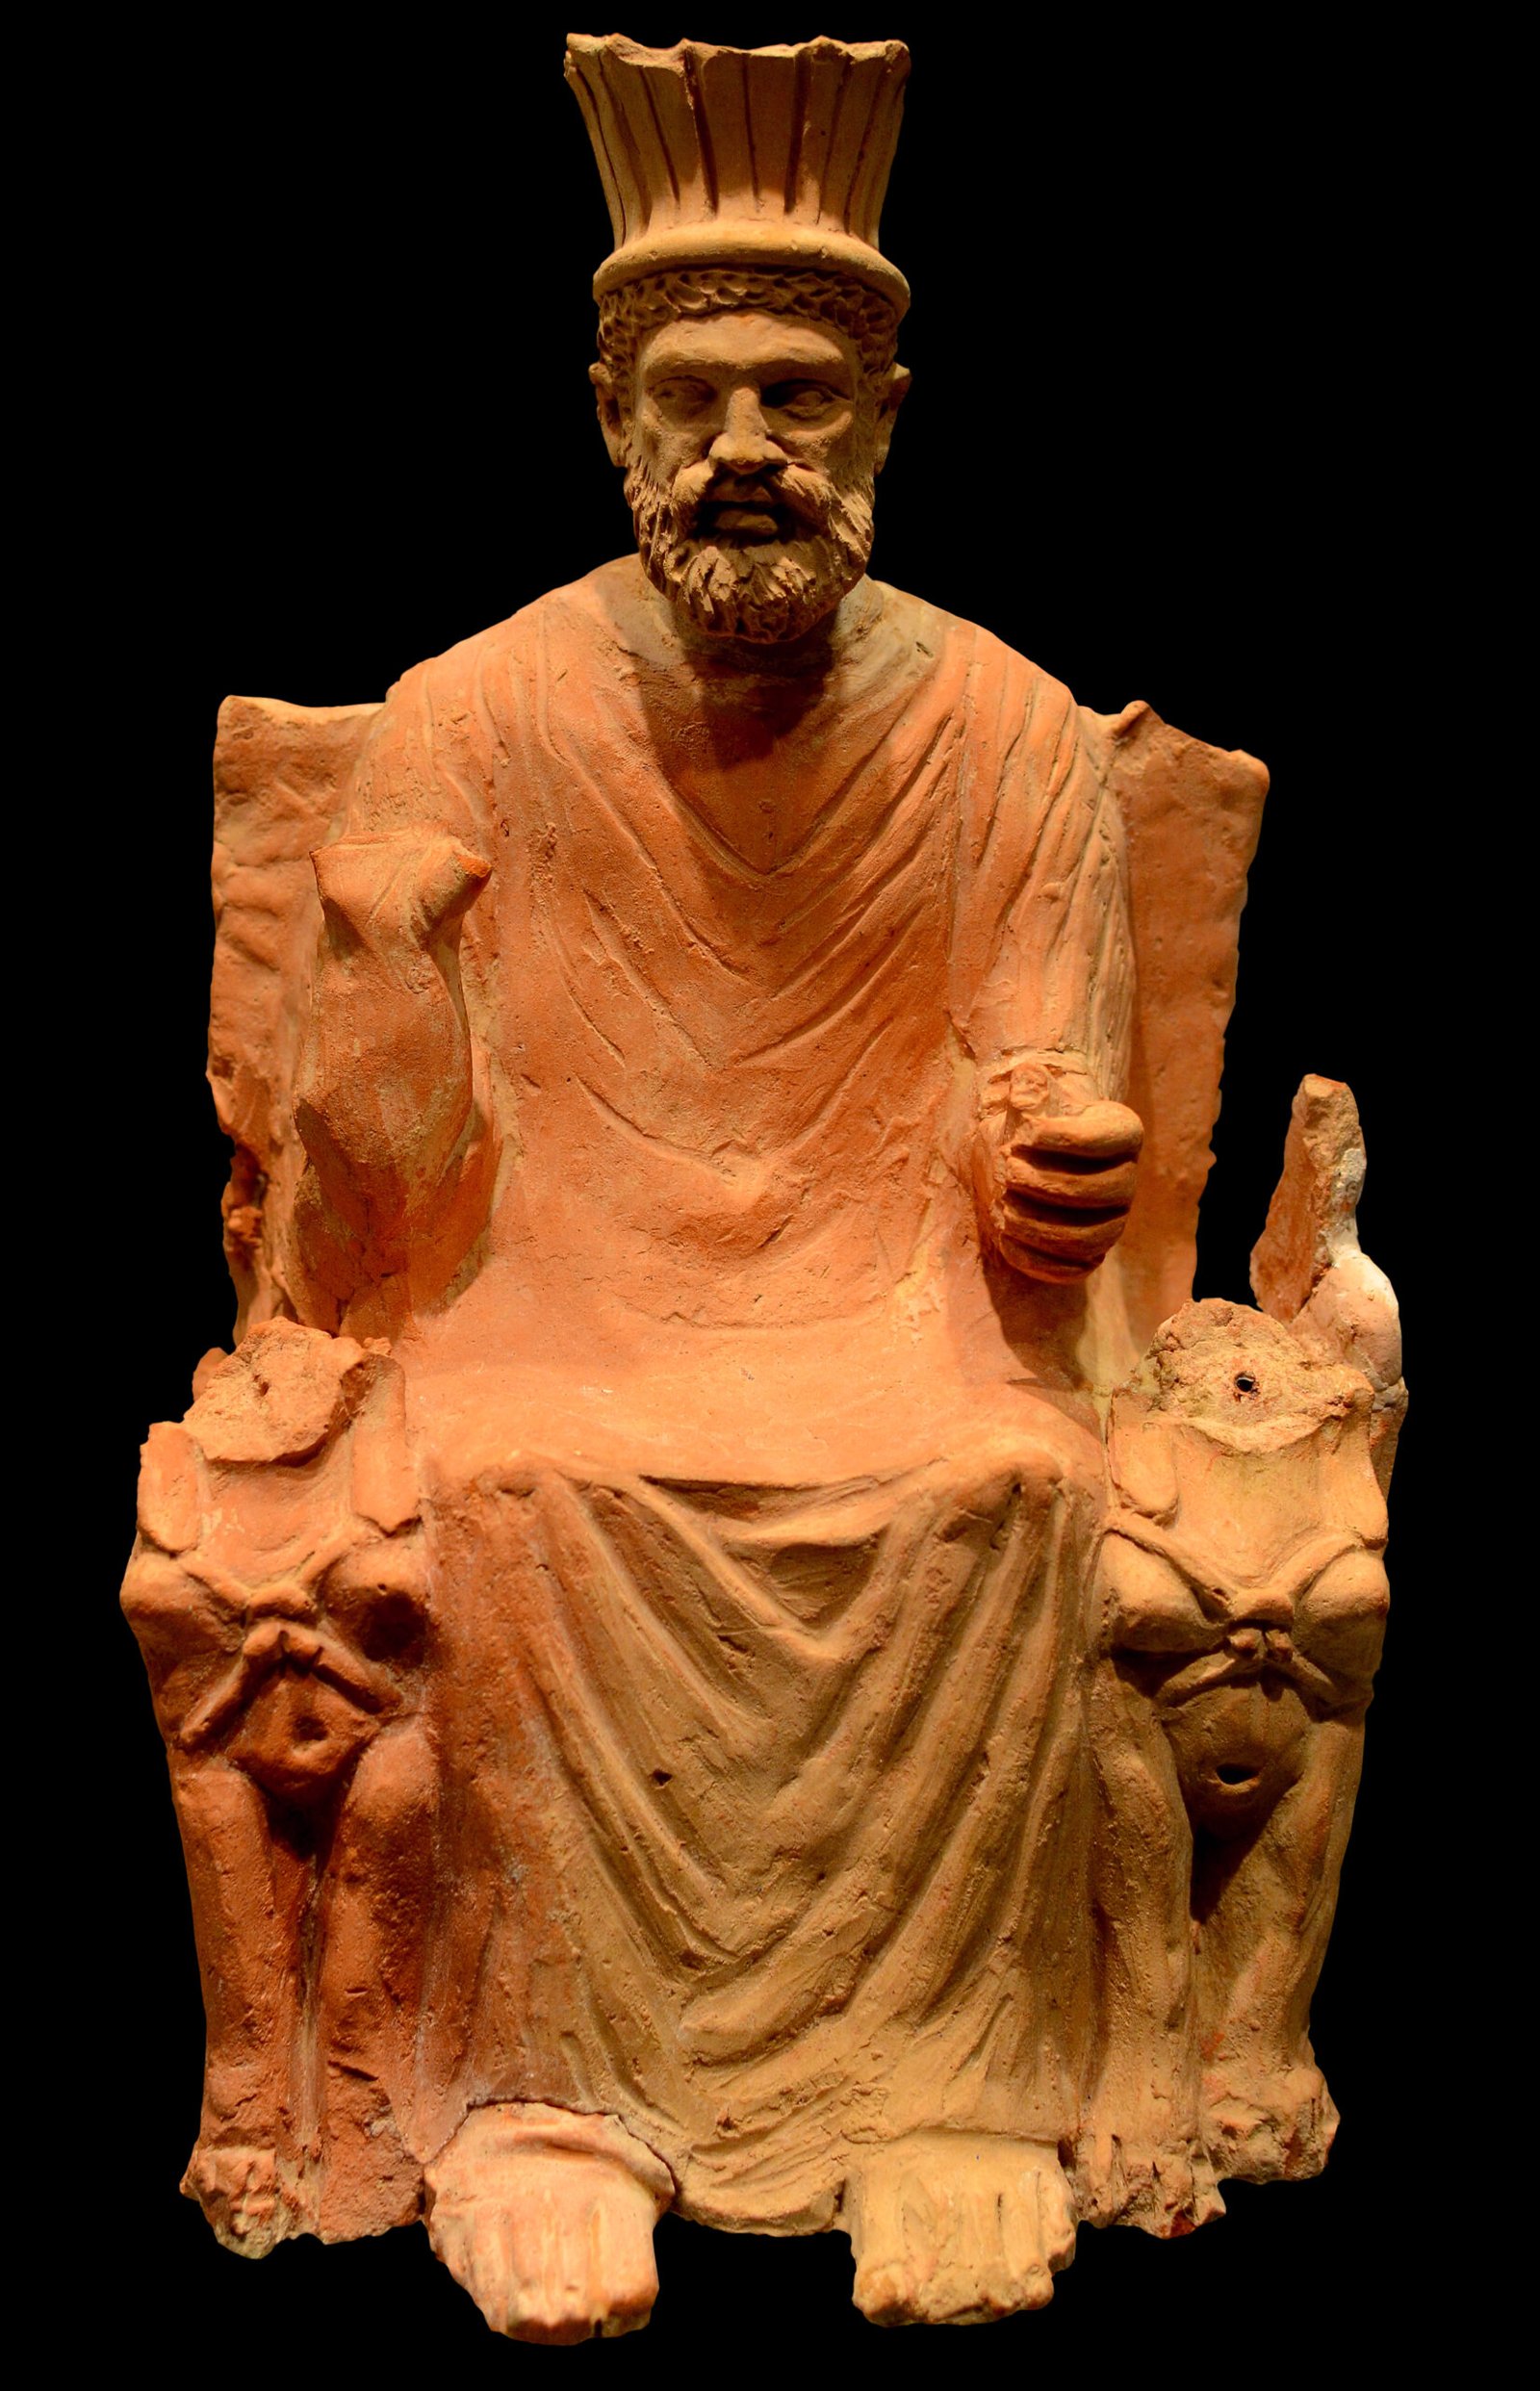
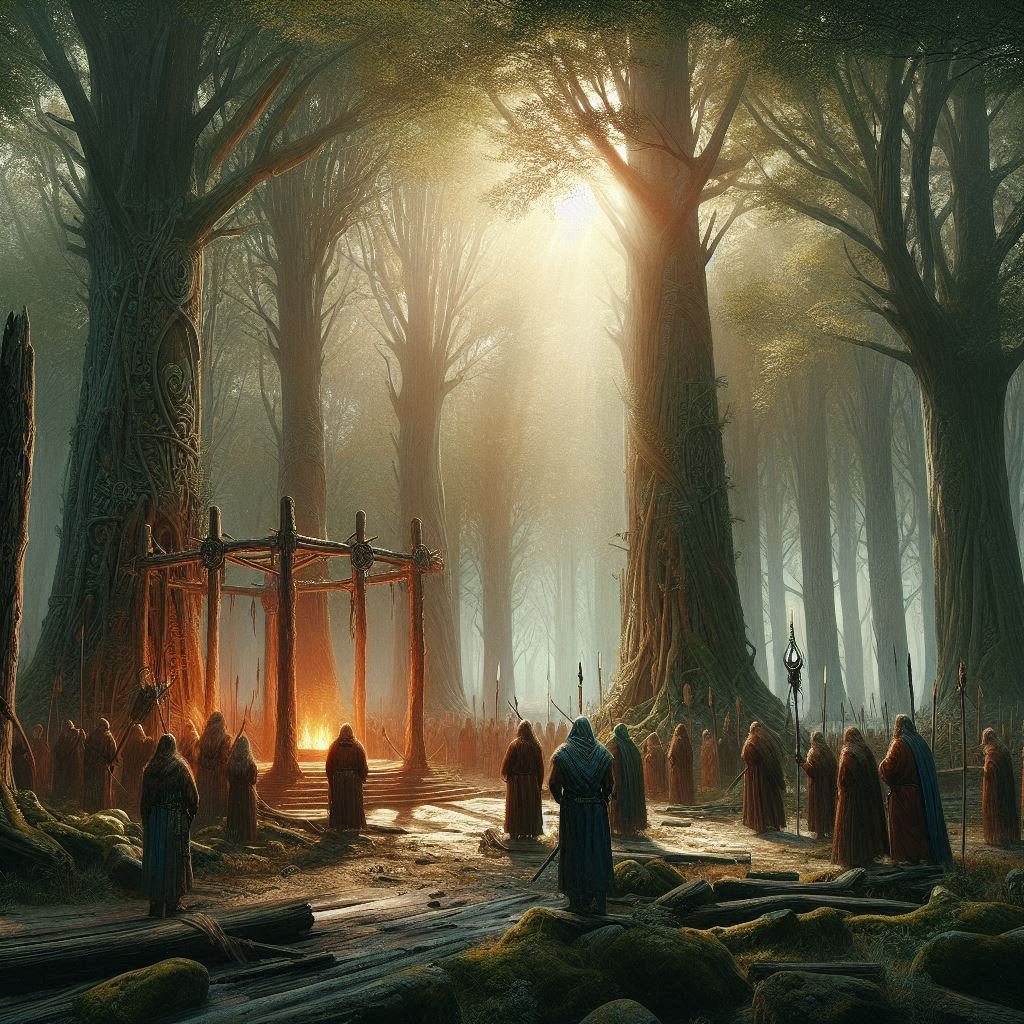
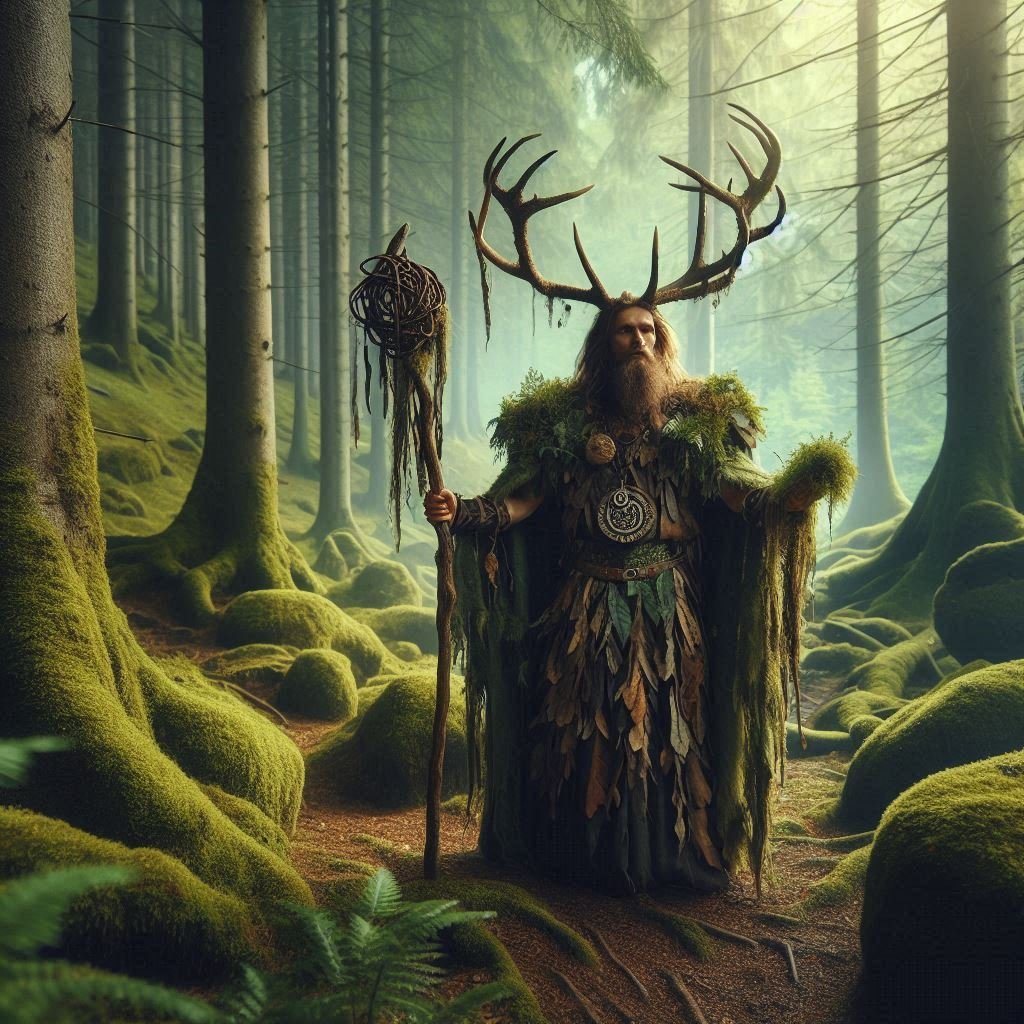
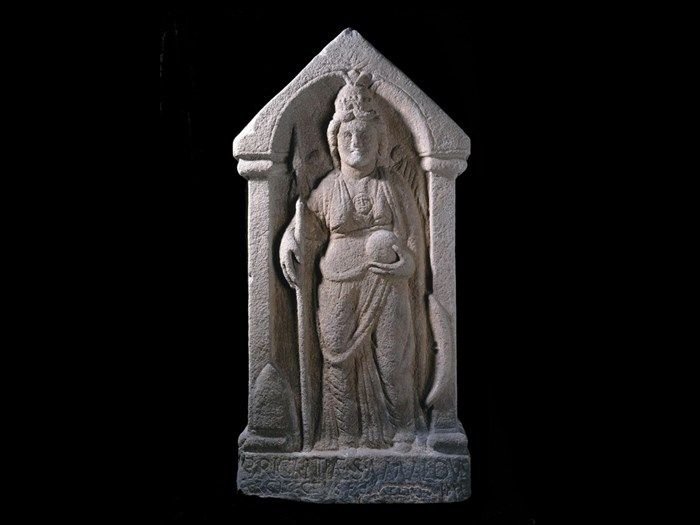
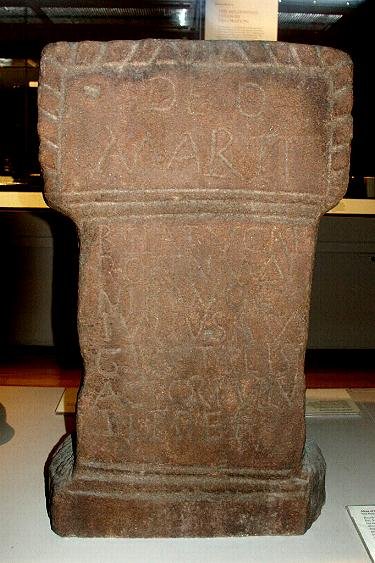
Celtic Gods
Many Celtic deities seem to have been associated with aspects of nature and worshipped in sacred groves. Some appear in Read more
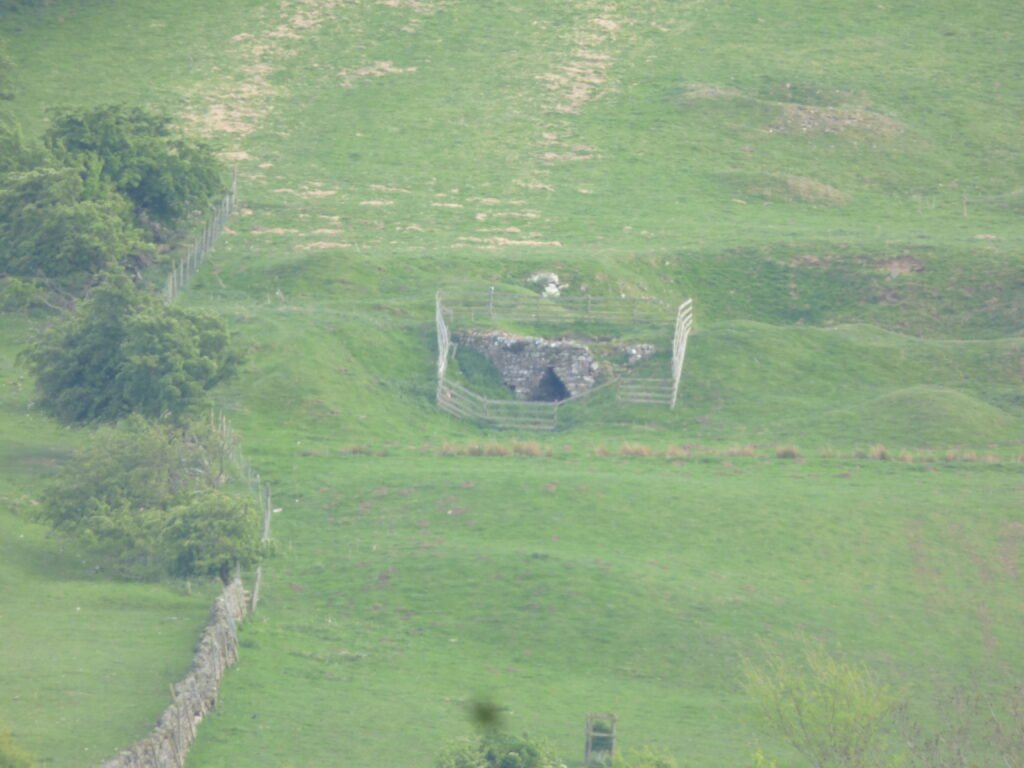
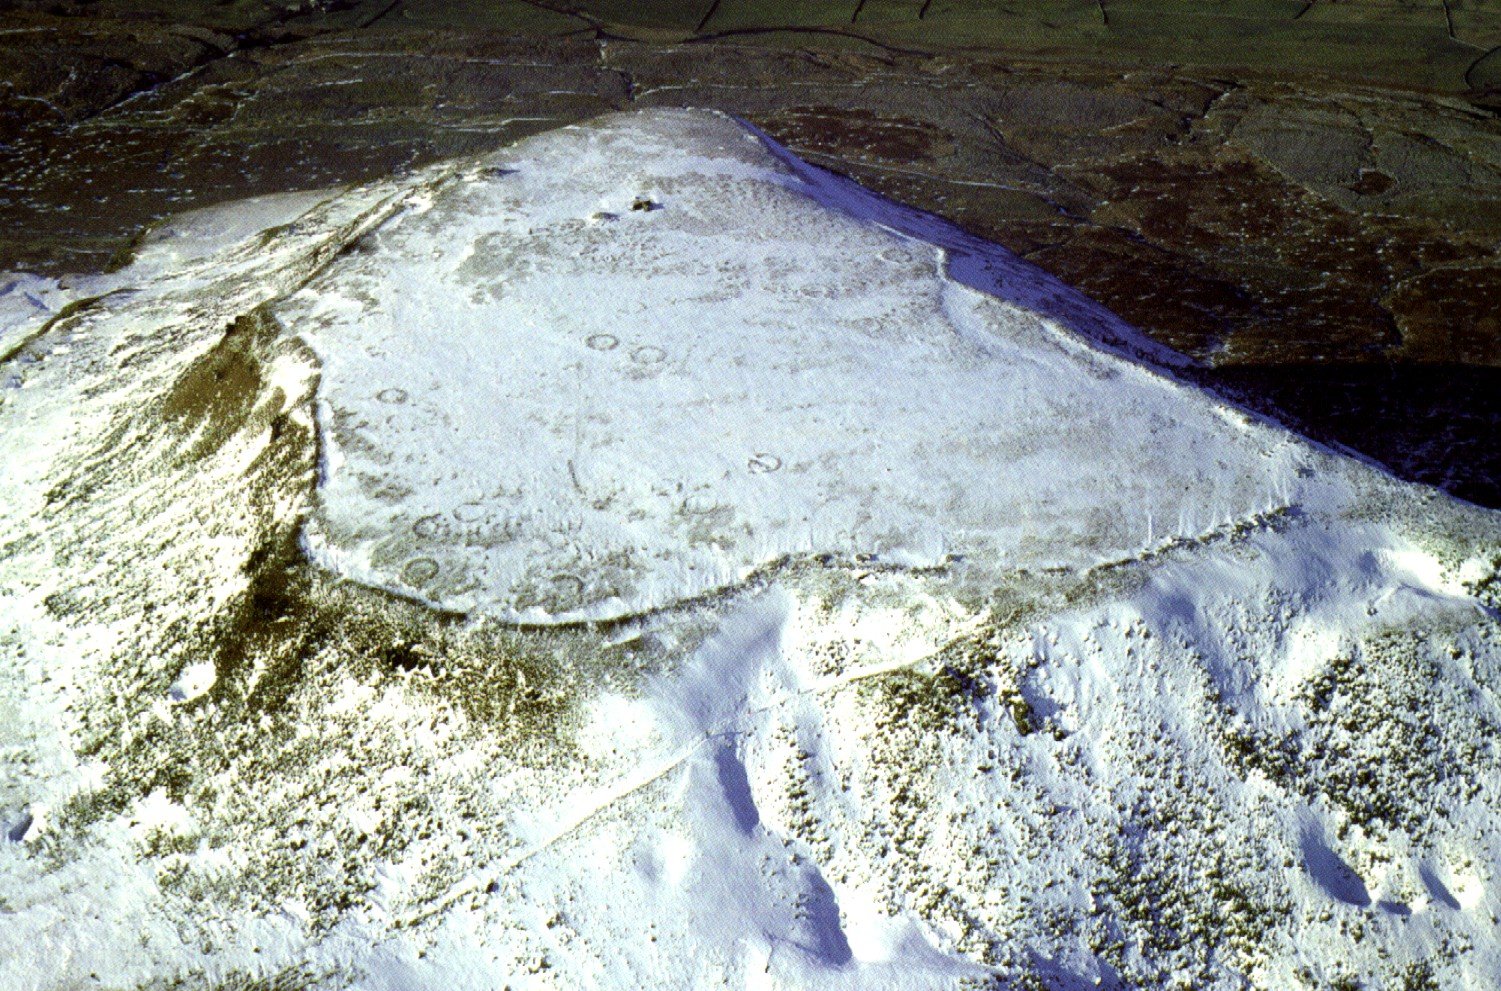
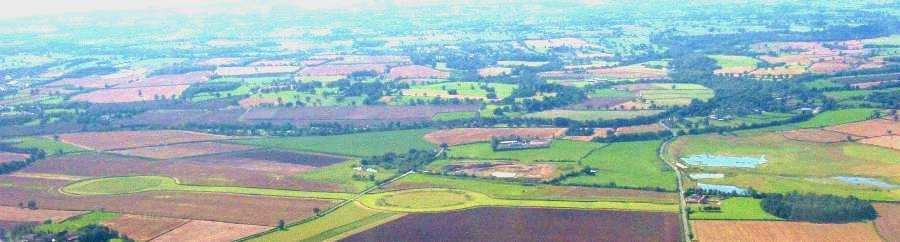
Were Thornborough Henges built by giants?
I’ve started to realise there are an awful lot of myths involving giants in Yorkshire, and in the rest of Britain, regarding monument having been built by giants. For example, several henges and prehistoric monuments across England are attributed to giants in local folklore. This could reflect a common mythical explanation for ancient structures that seemed beyond the capabilities of early human builders. But they may also be remnants of ancestor worship, those ancestors being originally attributed to the monuments somehow being hidden behind a common “Giant” metaphor, and their story equally including metaphor, the original meaning, now lost. Here are notable examples of henges and stone circles linked to giants:
Stonehenge (Wiltshire)
Myth: In medieval legends, giants are said to have built Stonehenge. Geoffrey of Monmouth’s History of the Kings of Britain claims that Merlin transported the stones from Ireland, where giants had originally erected them as part of a magical healing site.
Connection to Giants: This story ties giants to the construction of the Henge, emphasizing their superhuman strength and knowledge of mystical forces.
Devil’s Dyke and the Rollright Stones (Oxfordshire)
Myth: The Rollright Stones, a Neolithic and Bronze Age stone circle, are linked to a tale about a giant or king and his knights being turned to stone by a witch. While not directly about giants building the monument, it ties supernatural or larger-than-life beings to its origin.
Connection to Giants: Variations of the legend describe the stones being moved by a giant figure, reinforcing the idea of monumental builders.
Stanton Drew Stone Circles (Somerset)
Myth: The circles are said to have been created by giants or supernatural beings. In one legend, a group of giants or the Devil played MUSIC to villagers who danced all night and were turned into stone at dawn.
Connection to Giants: The scale of the stones and their alignment often inspire stories about their creation by superhuman beings.
The Hurlers (Cornwall)
Myth: The Hurlers, a group of three stone circles on Bodmin Moor, are said to be men turned into stone for playing hurling (a local game) on the Sabbath. In some variations, giants are connected to the formation of the stones or the punishment itself.
Connection to Giants: The myth positions giants as arbiters of moral order or cosmic justice.
Long Meg and Her Daughters (Cumbria)
Myth: The stone circle of Long Meg and Her Daughters is linked to a tale where a witch (sometimes described as a giantess) turned a coven of dancers into stone. Long Meg herself is a massive standing stone that seems to embody the “giantess” figure.
Connection to Giants: This myth strongly ties the circle to a larger-than-life female figure.
Themes Across England
- Superhuman Builders: Many myths assign giants or other supernatural beings to explain the construction of large, mysterious monuments.
- Giants as Symbols of the Past: Giants often represent an older, forgotten race of beings with knowledge or power lost to humanity.
- Moral or Cosmic Justice: Stories frequently involve giants punishing wrongdoing or reinforcing moral codes, tying the monuments to a spiritual or ethical framework.
- Cultural Continuity: The persistence of these myths reflects their role in bridging prehistory and modern understanding of these ancient sites.
What about Yorkshire and Brigantia?
Several myths from Yorkshire and adjoining regions that speak of giants include stories of their involvement in building Earthworks, henges, and other structures. These legends often credit giants with the construction of prehistoric monuments, hills, or other prominent landscape features. Here are notable examples:
Arbor Low (Derbyshire)
Myth: Arbor Low, a henge with a central stone circle, is sometimes associated with local legends of giants constructing the site or moving the massive stones. While specific tales are sparse, the monument’s imposing size likely contributed to the attribution.
Connection to Giants: Like many other henges, Arbor Low is seen as the work of beings with strength far surpassing human abilities.
Blakey Topping
Myth: Wade the Giant, associated with Mulgrave Castle and the Hole of Horcum, is also credited with creating Blakey Topping. Some versions of the myth suggest that Wade flung or piled up earth, forming the conical hill.
Connection to Earthworks: Although not a henge, the myth ties Wade to the modification of natural features into significant landscape markers.
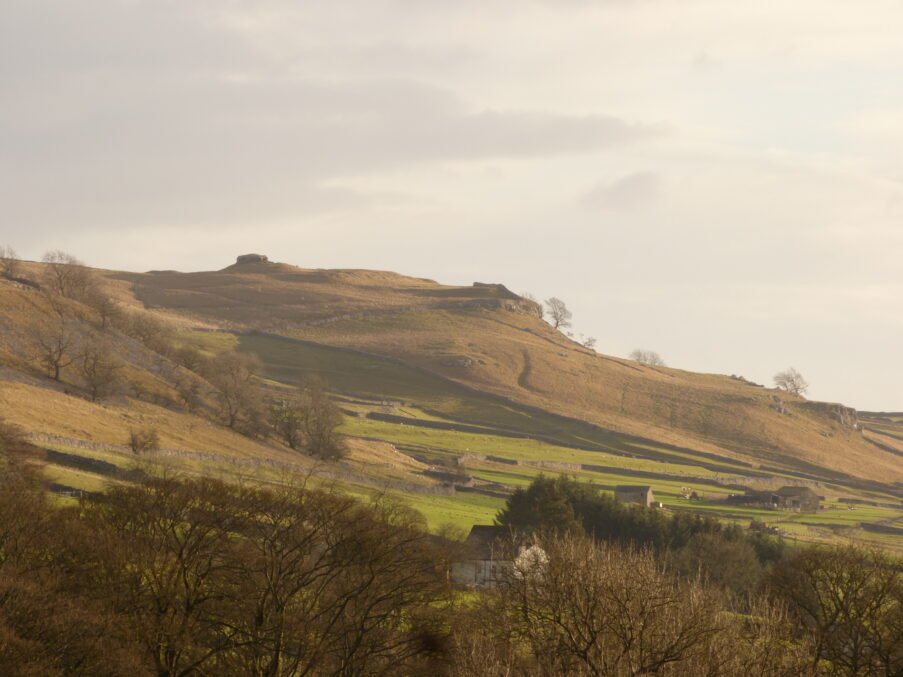
Roseberry Topping
Myth: Giants are sometimes said to have shaped the iconic hill of Roseberry Topping during battles or earth-moving tasks. While specific myths about its creation are sparse, the hill is often wrapped in local lore.
Connection to Earthworks: The association of giants with this prominent feature suggests a role in shaping symbolic or sacred sites.
Roulston Scar and the White Horse of Kilburn
Myth: Giants in the area are sometimes credited with carving or shaping prominent features along Roulston Scar, near Sutton Bank. While the White Horse itself is modern, earlier folklore suggests giants may have been linked to the surrounding earthworks or fortifications.
Connection to Earthworks: This myth echoes the widespread idea that ancient monumental works were too grand for humans and must have been built by giants.
Giant’s Causeway of North Yorkshire
Myth: In Yorkshire folklore, the term “Giant’s Causeway” (distinct from the Irish basalt columns) is sometimes used for paths or causeways supposedly built by giants, including Wade. These are thought to connect significant sites, perhaps echoing the prehistoric roads or cursus monuments linked to henges.
Connection to Earthworks: These myths reflect the belief that giants built not only isolated structures but also interconnected ceremonial landscapes.
Any giant related myths close to Thornborough?
Let’s look at the Giant myths close to Thornborough, just to understand the likelihood of these henges being included in local myths – If there a very local tendency to ascribe such structures as built by giants?
The Devil’s Arrows (Boroughbridge)
Myth: The Devil (sometimes interpreted as a giant) is said to have thrown these massive standing stones from a distant hill toward Aldborough. He missed his target, and the stones landed near Boroughbridge instead.
Connection to Earthworks: While not strictly an “Earthwork,” the Devil’s Arrows are prehistoric standing stones, and their attribution to a giant suggests a mythical connection to monumental construction.
The Legend of Wade the Giant
Location: Wade is associated with several locations in Yorkshire, such as Mulgrave Castle and the Hole of Horcum on the North York Moors.
Myth: Wade was a legendary giant and a great builder. In some versions of the tale, he is said to have created massive earthworks or carried large stones for construction. Wade’s association with megalithic sites and earthworks aligns with the scale of Thornborough Henges, which could inspire a similar mythic attribution.
Interpretation: The henges’ enormous scale and precise layout might have been linked to giant builders in local imagination, though no specific mention of Wade at Thornborough exists.
Giants in Yorkshire Dales Folklore
General Mythology: The Yorkshire Dales have numerous legends involving giants shaping the landscape. Stories frequently describe giants creating valleys, moving massive stones, or engaging in conflicts that leave geological features behind.
Cultural Context: These myths often served as explanations for prehistoric monuments or dramatic natural features, suggesting that the henges, like other ancient structures, might have been thought of as works of such mythical beings.
Connections to Nephilim-like Giants
Potential Mythic Association: While not local, the idea of ancient giant builders has roots in broader European and Biblical myths, including the Nephilim—giants mentioned in the Old Testament. Such interpretations were often retrofitted to sites like Thornborough by later folklore enthusiasts and antiquarians.
Possible Interpretive Gap
While there is no surviving specific myth about giants at Thornborough Henges, the broader landscape mythology of Yorkshire suggests a cultural readiness to attribute such structures to beings of immense size and power. It’s possible that myths once existed but were lost over time due to the region’s shifts in population, culture, and religion.
What is the legend of Mulgrave Castle?
The legend of Mulgrave Castle, near Sandsend in North Yorkshire, is tied to the tale of Wade the Giant, a figure from Yorkshire folklore. Wade is a recurring character in myths from this region, often depicted as a colossal, superhuman builder involved in the creation of landmarks.
The Myth of Wade the Giant
Wade and his Wife Bell, Wade was a mighty giant who lived in the North Yorkshire Moors with his equally powerful wife, Bell.
The couple is credited with creating various monumental features in the region, such as roads, valleys, and earthworks.
According to legend, Mulgrave Castle was one of Wade’s constructions, though his motivation for building it is not always clear in surviving stories.
Building the Castle, Wade is said to have carried the stones to construct Mulgrave Castle in his massive apron.
In some versions of the myth, the construction of the castle involves a challenge, either between Wade and Bell or Wade and another giant. These contests are a common theme in giant lore.
The Milk-Pail Road, Wade and Bell reportedly built a road that linked their home at Mulgrave Castle to their other creations in the area. The road allowed Bell to carry milk to Wade while he worked. It reflects the folkloric motif of a giant’s domestic life, blending mundane tasks with extraordinary scale.
Wade’s Fall, Like many giants in British folklore, Wade’s story concludes with his demise. Sometimes he is said to have died in a great battle or been outwitted by smaller, clever humans. These tales symbolize the triumph of human ingenuity over brute force.
Interpretations of the Myth
Explaining the Landscape: The myth of Wade and his wife likely served to explain natural and human-made features in the area, such as roads, castles, and earthworks.
Cultural Memory: Mulgrave Castle’s origins as an actual Norman castle may have been conflated with earlier structures in the area, such as prehistoric earthworks. The myth preserves a cultural memory of monumental construction tied to mythical figures.
Historical Mulgrave Castle
The Mulgrave Castle known today was built in the late 11th or early 12th century by Nigel Fossard, a Norman lord. It later became a significant stronghold in the medieval period. The ruins of the original castle remain near the 18th-century Mulgrave Hall.
What is the connection with the Hole of Horcum?
The Hole of Horcum, a dramatic natural amphitheatre in the North York Moors, is deeply connected to the myth of Wade the Giant and his wife, Bell, in Yorkshire folklore. Here’s how the two are linked:
The Myth of Wade and the Hole of Horcum
According to local legend, the Hole of Horcum was created during an argument between Wade and Bell.
The story goes that during one of their frequent quarrels, Wade scooped up a massive handful of earth to hurl at Bell in anger.
The thrown earth missed its mark and landed elsewhere, creating a prominent hill in the area (sometimes identified as Blakey Topping, another folklore-rich site). The hole left behind where Wade scooped the earth became the Hole of Horcum.
Conclusion
Well I did not expect to find evidence of any giant in the building of Thornborough Henges, but, in the looking, I discovered that such myths are widespread throughout England and Brigantia. I also stumbled on a potential memory of a ritual from older times. Times when we honoured not only the father, but also the mother, holding them, potentially, as equals.