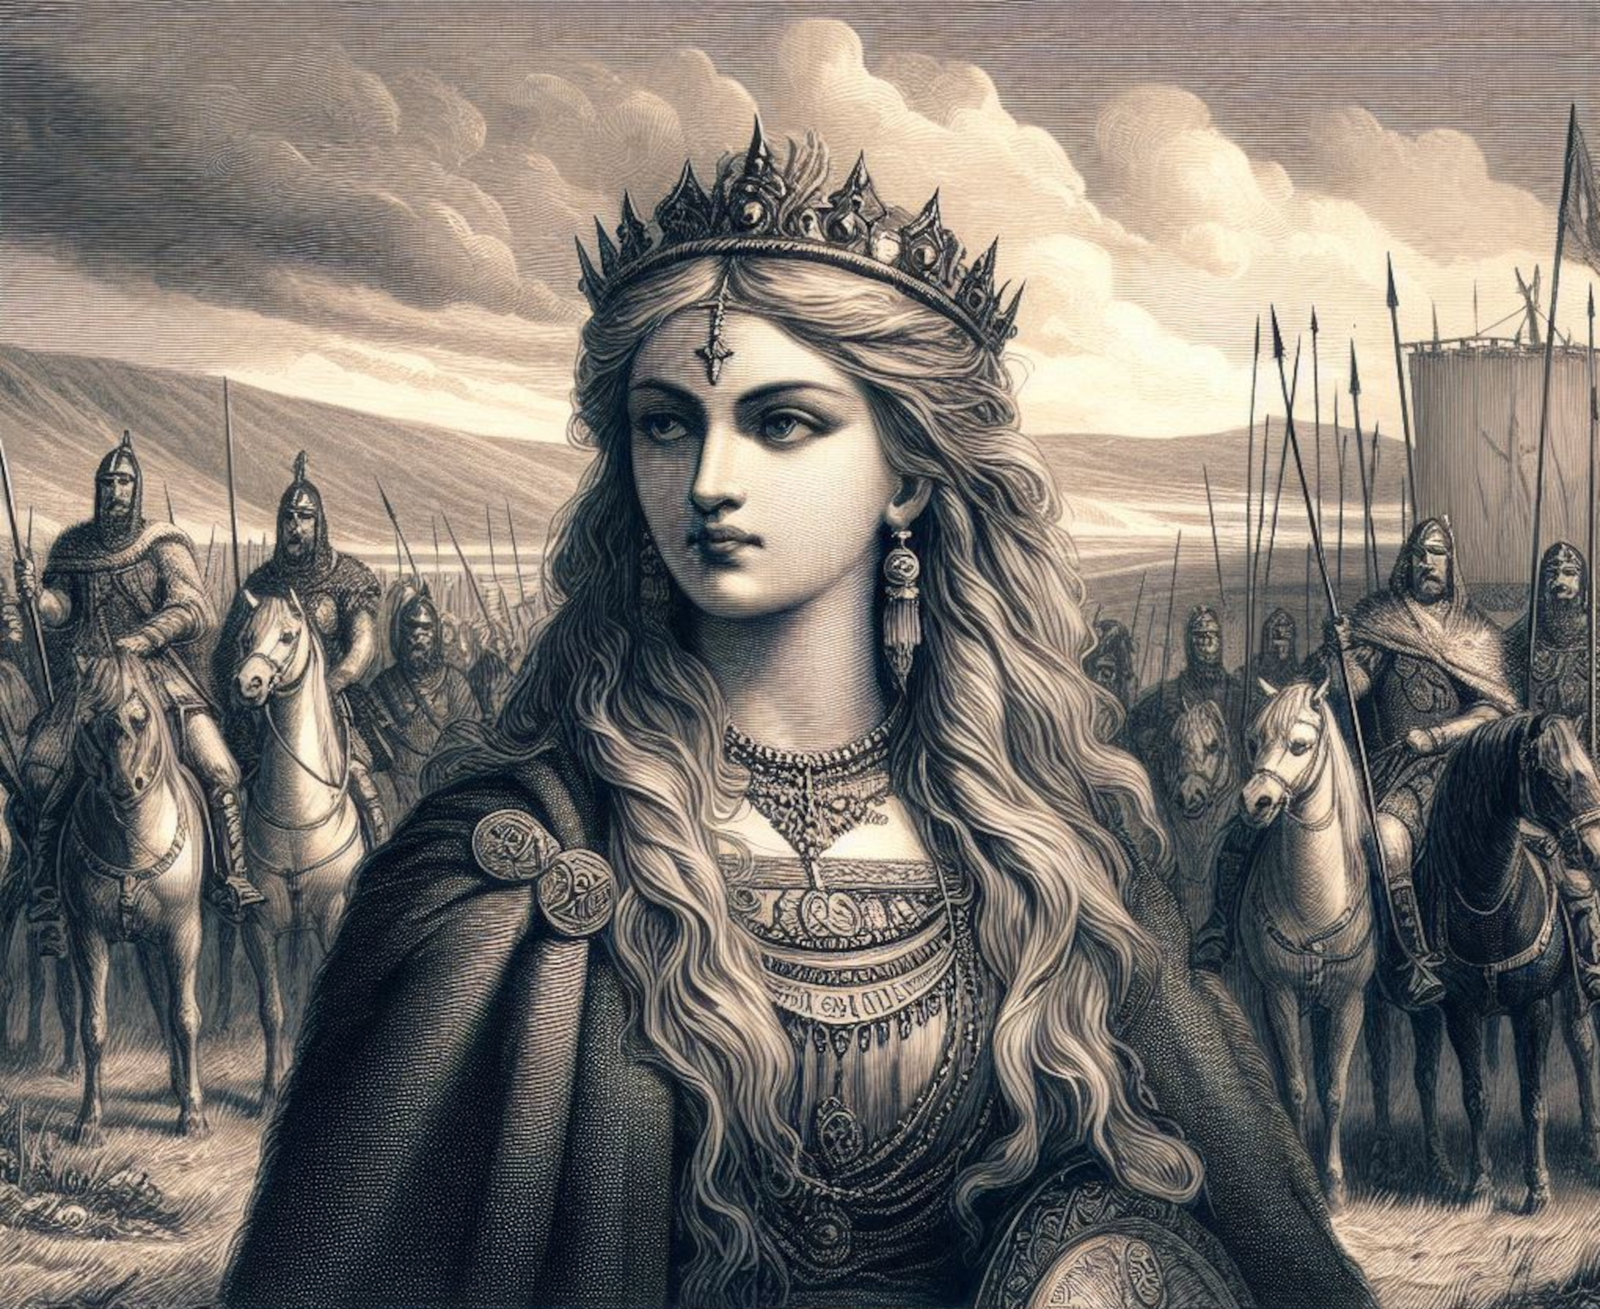
Many Celtic deities seem to have been associated with aspects of nature and worshipped in sacred groves. Some appear in Read more
Introduction to Image Manipulation for Archaeological Photography
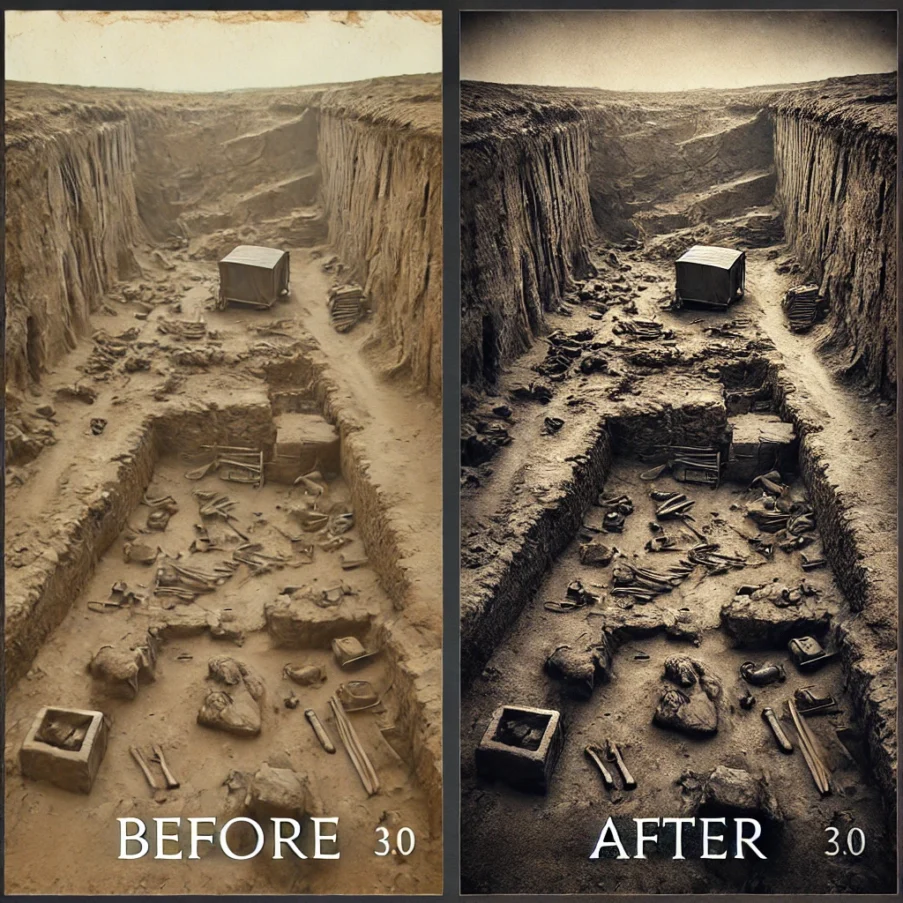
Photography is an essential tool in archaeology, not only for documenting finds but also for interpreting and preserving evidence. However, images often require some level of post-processing to enhance clarity, correct lighting issues, or reveal details that may not be immediately visible. Image manipulation software plays a crucial role in this process, allowing archaeologists to adjust images while maintaining the integrity of the data.
This article introduces the main techniques used in image manipulation for archaeological photography, reviews some widely used software options, and provides suggestions on file naming and describing images to maintain an organized archive.
Main Techniques in Image Manipulation
Adjusting Exposure and Contrast:
Purpose: Many archaeological photos are taken in challenging lighting conditions—whether it’s in low light during excavation or bright sunlight on outdoor sites. Adjusting exposure and contrast can correct overexposure or underexposure and highlight important details.
How it Works: Exposure controls the amount of light that hits the sensor, and contrast determines the difference between light and dark areas of an image. Increasing contrast can help reveal more details in shadowed areas or highlight features that might not be immediately visible.
Cropping and Straightening:
Purpose: To focus on specific areas of interest within an image and remove unnecessary elements that may detract from the primary subject.
How it Works: Cropping allows you to zoom in on particular areas, eliminating distractions or adjusting the composition for clarity. Straightening is important when photographing objects or features at an angle—this tool helps align the image to present a more accurate view.
Sharpening and Noise Reduction:
Purpose: Sharpening enhances fine details in the image, while noise reduction helps remove any grainy appearance, often seen in photos taken in low light or with higher ISO settings.
How it Works: Sharpening increases edge contrast, making fine details more visible. Noise reduction tools remove unwanted pixelation (noise) that can obscure important information.
Highlighting and Enhancing Features:
Purpose: Enhancing specific features of an image, like inscriptions, textures, or small artifacts, that might be difficult to detect.
How it Works: Techniques like dodge and burn allow you to brighten or darken areas of an image selectively, helping to reveal hidden features or improve the clarity of certain aspects of the photo.
Layering and Masking:
Purpose: To make more complex adjustments to parts of the image without altering the whole picture. This is particularly useful when working with multi-exposure images or creating composite images.
How it Works: Layering involves stacking different versions of an image on top of one another, allowing for non-destructive edits. Masking enables precise adjustments to specific areas of the photo by isolating parts of the image for editing.
Colour Correction:
Purpose: To ensure that the colours in the image are true to life, which can be especially important in documenting artifacts or site features.
How it Works: Adjusting the white balance corrects for any colour cast caused by the lighting in the environment, while colour correction tools can fix any discrepancies in colour representation.
Popular Image Manipulation Software: Cost vs. Features
There are many software options available for image manipulation, ranging from free programs for beginners to professional-grade tools for advanced editing. Let’s explore some of the most common tools used in archaeological photography and their respective strengths:
Adobe Photoshop
Cost: Subscription-based (monthly or annual plans)
Features: Photoshop is the gold standard in image manipulation. It offers a wide range of advanced tools like layering, masking, and retouching, along with features for digital restoration, noise reduction, and sharpening. The Content-Aware Fill feature can even help remove unwanted elements from a photo.
Best For: Professional archaeologists and institutions requiring high-level image manipulation and restoration.
GIMP (GNU Image Manipulation Program)
Cost: Free and open-source
Features: GIMP offers many of the same features as Photoshop, including layering, masking, and color correction tools. It supports a range of file formats and can handle most standard image editing tasks. While it’s not as polished as Photoshop, it’s a highly capable option for those on a budget.
Best For: Amateur archaeologists or institutions looking for a free yet powerful image editing tool.
Adobe Lightroom
Cost: Subscription-based (monthly or annual plans)
Features: Lightroom is designed for photographers who need to manage and process large quantities of images. It excels in batch processing, exposure adjustments, and colour correction, making it ideal for site documentation where you need to process multiple photos with similar settings.
Best For: Archaeologists working on large-scale excavation sites with numerous photos to manage.
Affinity Photo
Cost: One-time purchase (lower cost than Adobe Photoshop)
Features: Affinity Photo offers professional-level features, including retouching, masking, and raw image editing. It has most of the same capabilities as Photoshop but at a lower price point.
Best For: Those looking for a one-time payment option without a subscription model but still needing advanced editing tools.
Paint.NET
Cost: Free
Features: Paint.NET is a simple image manipulation tool for basic adjustments like cropping, sharpening, and color correction. It doesn’t have the advanced tools of Photoshop or GIMP, but it can be a useful option for basic edits.
Best For: Quick, simple edits without the need for complex features.
File Naming and Description Methodology
In archaeological photography, maintaining an organized archive is crucial for tracking, referencing, and sharing images. Here’s a relatively simple naming methodology that can be used to keep images clear and accessible:
Basic Structure:
The basic format for naming files should include:
Site Name/Location: The name of the archaeological site or location
Date: The date the photo was taken (e.g., YYYYMMDD format)
Feature/Context Description: A brief description of the feature or object photographed (e.g., “Barrow”, “wall fragment”)
Photographer/Researcher Initials: The initials of the person taking the photo or responsible for the documentation
Example: Thornborough_20240123_Moraine_SA.jpg
Numbering System:
Use numbers to differentiate between multiple shots taken of the same object or site. For example:
Thornborough_20240123_Moraine_01.jpg
Thornborough_20240123_Moraine_02.jpg
Thornborough_20240123_Moraine_03.jpg
File Descriptions:
In the metadata or accompanying file description, include:
The exact location where the photo was taken (e.g., GPS coordinates or specific grid reference)
A brief description of what is being shown in the image (e.g., a view of the moraine, specific detail of the feature)
Any observations or relevant notes (e.g., lighting conditions, changes in features over time)
By creating a consistent and descriptive file naming system from the start, you ensure that your image archive is well-organized and easily searchable in the future.
YouTube Channels for Photography and Image Manipulation Tutorials
Peter McKinnon Peter McKinnon – YouTube
Peter McKinnon’s channel is widely regarded for its photography tips, creative workflows, and photo editing tutorials. While he primarily focuses on photo and video editing in programs like Adobe Lightroom and Photoshop, his tutorials are highly engaging and beginner-friendly.
Phlearn Phlearn – YouTube
Phlearn offers a wealth of Photoshop tutorials, ranging from basic techniques to advanced photo manipulation. They cover everything from color correction and sharpening to masking and compositing, perfect for those looking to dive deeper into the world of image editing.
Piximperfect Piximperfect – YouTube
Piximperfect provides in-depth Photoshop tutorials, focusing on detailed and technical aspects of photo manipulation. His tutorials cover everything from exposure adjustments and retouching to creative edits. This channel is particularly useful for archaeological photographers who need advanced techniques to enhance their images.
GIMP Tutorials GIMP Tutorials – YouTube
If you’re using GIMP, this channel is a great resource for free, open-source software tutorials. It covers the basics of photo editing and more advanced techniques, such as layering, masking, and retouching, all specific to GIMP.
Lightroom Presets Lightroom Presets – YouTube
If you work with Adobe Lightroom, this channel is dedicated to photo editing tutorials with a focus on pre-sets and editing techniques. It’s perfect for those who need to process large volumes of archaeological images efficiently.
Official Software Links
Adobe Photoshop Adobe Photoshop – Official Website
Adobe Photoshop is one of the most comprehensive photo manipulation tools, offering everything from basic editing to advanced retouching and creative effects. It’s available via a subscription plan and is commonly used for archaeological documentation and professional photo editing.
GIMP (GNU Image Manipulation Program) GIMP – Official Website
GIMP is a powerful free and open-source image manipulation program that can be used for everything from basic photo editing to more advanced tasks. It’s highly customizable and an excellent alternative to Photoshop for those on a budget.
Adobe Lightroom Adobe Lightroom – Official Website
Adobe Lightroom is ideal for those needing to process multiple images quickly and maintain consistent edits. It is particularly useful for managing large sets of archaeological images and making adjustments to exposure, color balance, and more.
Affinity Photo Affinity Photo – Official Website
Affinity Photo is a one-time purchase alternative to Photoshop, offering professional-level editing tools. It’s an excellent option for high-quality image manipulation without the recurring subscription costs.
Paint.NET Paint.NET – Official Website
Paint.NET is a simple free image editor that’s great for basic photo manipulation. It’s easy to use, especially for beginners, and it covers essential features like cropping, sharpening, and colour adjustment.
Conclusion
These YouTube channels offer a wide range of tutorials, from beginner tips to advanced techniques, for editing your archaeological images. Whether you’re using Photoshop, GIMP, or Lightroom, there’s a channel that can guide you through the process, helping you enhance your photographs effectively.
Fragment of a copper alloy drilled buckle frame with a separate spindle, which is now missing, c. 1760-1790AD.Measurements: Length: 44.2mm; Width: 10.7mm; Thickness: 6.0mm; Weight: 3.64g [...]
A probable copper alloy Roman stylus dating to c.AD 43-410.The object comprises a shaft which is circular in cross section. At one end the shaft narrows to a pointed terminal. At the other, the shaft [...]
Everted and thickned rim sherd of a medieval to post-medieval cast copper alloy cooking vessel in quite fresh condition but with old breaks. There are slight traces of sooting on the exterior. The diameter is [...]
Five small fragments of fired clay, reduced with oxidised margins and surfaces, profuse chalk inclusions, and on two larger pieces withy impressions on smoothed surfaces. Weight 56g. Daub from stud walling or from a hearth or kiln [...]
A fragmentary and incomplete Roman silver Radiate of Gallienus, dating to c. AD 258-259 (Reece period 13). GERMANICVS MAX V reverse or similar depicting a trophy between two captives. Possibly mint of Lugdunum. Cf. RIC V Gallienus [...]
An extremely corroded Roman copper alloy Sestertius of uncertain 1st or 2nd century ruler. Uncertain reverse type depicting a standing figure. Probably mint of Rome. [...]
An incomplete uninscribed Iron Age silver unit of the Southern Region, probably of the East Wiltshire group and dating to c. 50-20 BC. Obverse: unclear, possibly a moon head, right. Reverse: Annulate horse, left. [...]
Thirteen sherds of medieval to post-medieval Late Medieval and Transitional pottery (Jennings 1981, 61-2), all body apart from 2 pancheon rim and 2 basal, weight 128g, mid 15th - 16th century. [...]
Two hundred and eighteen sherds of medieval pottery, body unless otherwise stated, weight 1.212kg, 12th - 15th century:- 216 unglazed including sixteen everted jar rim (cf. Jennings 1981 fig. 14 nos. 285-92), twenty-one bowl and [...]
A small oval tertiary flake of pale brown flint, probably of Neolithic date. The left lateral side has been refined with semi abrupt retouch struck from the dorsal side and there is a small amount [...]
A copper alloy fragment, probably from one end of a purse bar of late Medieval to early post Medieval date (cf. Williams Class C). The arm has a rounded cross section, 4.8mm in diameter and ends [...]
An incomplete medieval cast copper alloy oval buckle, with an expanded and thickened front edge. Any decoration has been lost to corrosion. The strap bar has small lobes at either end, but has broken away [...]
A complete copper alloy seal matrix of Medieval date (c. AD 1250-1300).The matrix is flat and pointed-oval or vesica-shaped. On the reverse is a central rib with a perforated lug at the top of the seal. The front [...]
Copper alloy jetton. Hammered French jetton, Late Medieval issue of 1350-1400Obverse description: box-like structure of bars ending on annulets – probably Chatel Tournois.Obverse inscription: [---]*E[-]I[-]SVReverse description: long cross, with short bars at ends of arms [...]
An Iron Age gold quarter stater of the East Wiltshire region, dating to c. 50-35 BC. Savernake Wheel type. Obverse: wreath, crescents below, pelleted spike. Reverse: horse, wheel below, solar spiral above. As ABC p.107, no.2101; BMC 546. [...]
An incomplete copper-alloy imitation of a Roman radiate, probably of Tetricus I (AD 271-274) or Tetricus II (AD 272-274) dating to the period c.AD 275-285 (Reece Period 14). Probably PIETAS AVGG / AVGVSTOR reverse type depicting sacrificial instruments. Unclear [...]
An incomplete silver Penny of James I (AD 1603-1625). First Coinage. Squared shield. Thistle or Lis initial mark. AD 1603-1605.Diameter: 13.44mm, Thickness: 0.38mm, Weight: 0.28gThe coin is missing minor portions of its outer flan.North Vol II, P 144, [...]
An incomplete silver Threepence of Elizabeth I (AD 1558-1603). Second coinage. Long cross fourchée over squared shield reverse, with date above. Sword initial mark. AD 1582.Diameter: 18.64mm, Thickness: 0.68mm, Weight: 1.41gThe coin is missing portions of its outer [...]
An incomplete copper alloy nummus of the House of Constantine dating to the period AD 354-361. Reece period 18. Probably SPES REIPVBLICE reverse type depicting the emperor standing left, holding globe and spear. Unclear mint.Diameter: 13.62mm, Weight: [...]